
Check the Proper Order of the Tanks
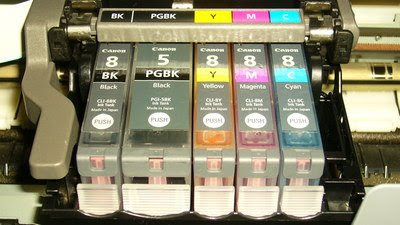 Ink tanks need to be installed in a certain arrangement, as noted in your printer’s user guide. For the Canon Pixma, the proper arrangement from left to right is Black 8, Black 5, Yellow 8, Magenta 8, and Cyan 8.
Remove the Plastic Wrapper from the Ink Tank
 Tear the plastic wrapper off the ink tank by pulling down on the orange strip. Be careful not to touch the metal chip at the bottom of the tank.
Remove the Orange Protective Cap
 Take off the protective plastic cap by turning the plastic handle counterclockwise.
Turn the Printer On and Lift the Cover
 Turn your printer on, and lift the cover. Make sure you're not just lifting the top cover that provides access to the glass copy plate. Lift from below the control panel.
Open the Inner Cover
 The ink-tank tray will move toward the center of the printer, giving access to the ink-jet tanks. Open the inner cover by pulling it toward you.
Push the Ink Tank Into Place
 Push the front of the ink tank until the tank snaps into place. It will light up when it’s in correctly.
Close the Inner Cover
 Push the inner cover closed before closing the printer cover.
Close the Printer Cover
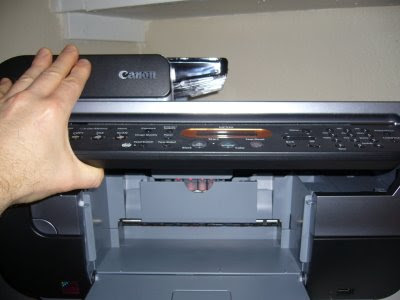 Gently close the printer cover until it locks in place.
